When it comes to batch printing on the Bambu Lab A1, one idea feels almost like common sense: you paid for the whole build plate, so why wouldn't you use all of it? Filling the plate gets more parts out of each run, with fewer restarts and less handling between batches. For overnight printing, the appeal is obvious—load the plate before bed, hit print, and by morning you'll have a full batch of finished parts waiting.
So yes, a full plate can absolutely be efficient. But plate utilization is only part of the story. Packing more parts into a single batch ties more of your expected output to one print, while splitting the run leaves you with more jobs to manage.
The better question, then, is: what are you actually trying to optimize?
For batch printing, it helps to think about three different kinds of efficiency:
| PLATE EFFICIENCY | BATCH EFFICIENCY | WORKFLOW EFFICIENCY |
|---|---|---|
| Fit more useful output | Distribute output across jobs | Reduce manual attention |
| How much useful output can you fit on a single build plate? | How much of your planned output do you want tied to a single print job? | How much time and attention does it take to move from one completed job to the next? |
These three don't always point in the same direction. Maximizing one can introduce trade-offs elsewhere—which is why the most efficient batch isn't always simply the fullest plate.
1. How Much of the Plate Can You Actually Use?
How many parts fit on a plate isn't just about model size—your print sequence matters too. In Bambu Studio, multiple objects are printed By Layer by default, with all objects built together one layer at a time. Alternatively, By Object completes one object before printing the next. Sequential printing therefore needs enough clearance for the printhead to move safely around parts that have already been printed. To isolate the effect of print sequence, we kept the printer, seven identical wrench models, scale, orientation, material, and print settings exactly the same. With By Layer, all seven could be packed closely together and sliced on a single A1 plate. When we switched only the sequence to By Object, the same layout triggered collision warnings and required more spacing.

By Layer: All seven models fit closely on a single A1 plate.

By Object: Additional clearance is required.
This doesn't mean By Object always fits fewer parts. The actual layout depends on model geometry, orientation, height, and printer clearance. But it shows that usable plate space isn't determined by model footprint alone—the way you choose to run the batch also matters.
2. How Much Output Do You Want Tied to One Job?
Batch size also changes how your planned output is distributed across print jobs. Imagine you need 24 identical parts. All 24 in one run, two batches of 12, or four batches of 6—same final output, but very different completion patterns.

That difference becomes clearer when something goes wrong late in a long print. One user in the Bambu Lab community described a five-part, 18-hour print that hit trouble during the final 15 minutes. Read the original discussion → Splitting the batch wouldn't necessarily have prevented the failure, but parts from previously completed jobs would already have been usable.
If you need some usable parts sooner, smaller batches may make sense—not because they necessarily make the print more reliable, but because they spread your output across separate jobs.
3. How Often Do You Want to Check on Your Printer?
Smaller batches can make part of your planned output available before the entire order is finished—but there's a catch: someone still has to keep the jobs moving. Every extra batch means coming back to remove finished parts, clear or replace the plate, and start the next run.
That may be no big deal during the day. But overnight, while you're at work, or when you're simply doing something else, a finished printer can sit idle for hours waiting for the next plate.
So sometimes the question isn't how many parts go in this batch—it's how often you actually want to come back to the printer.
From Batch Efficiency to Workflow Efficiency
There isn't one "most efficient" batch size. A fuller plate can make better use of available plate space; smaller batches spread output across separate jobs; fewer jobs mean fewer trips back to the printer. But once your run grows beyond a single plate, there's another question: what happens between jobs?
If maximizing plate utilization is the priority, filling the plate may be the right call. If you need usable parts to come off the printer progressively, smaller batches have an advantage. And if the real constraint is how often you can return to the printer, the problem may not be your batch size at all—it may be the workflow between jobs.
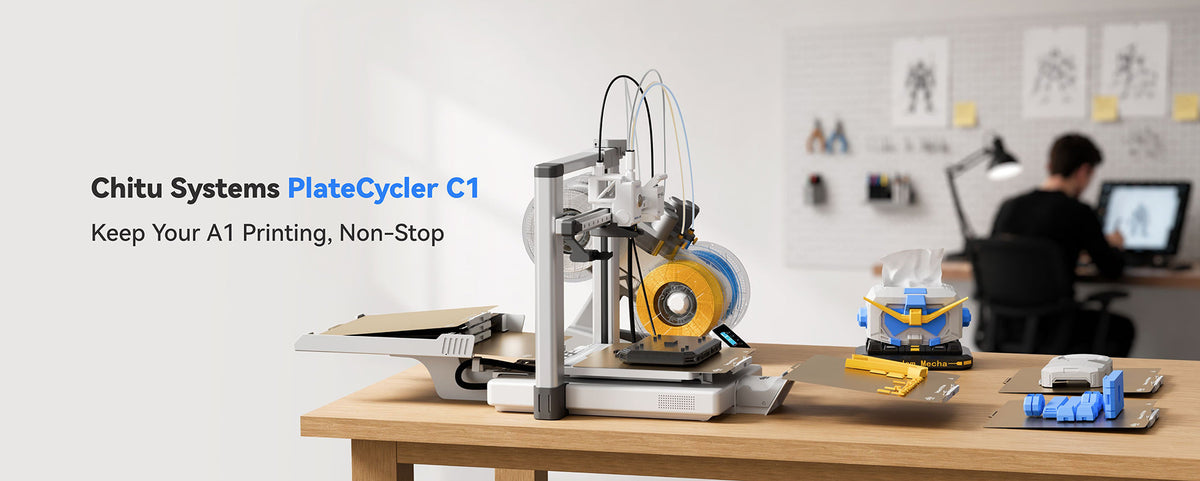
The PlateCycler C1 automates plate transitions on the Bambu Lab A1, cycling to the next plate so one job can continue into the next—without a 3 a.m. plate swap or hours of idle time waiting for you to come back.
See PlateCycler C1 in Action →

RELATED ARTICLES